Gradient lenses can look different in bulk because lens material, tint concentration, immersion time, curvature, frame color, and inspection lighting all affect the final appearance. For sunglasses women collections, buyers should approve more than a general color name. A reliable standard must define the upper darkness, lower transparency, transition position, color direction, and acceptable left-to-right variation in the finished frame.
Key Takeaways
- Tea, smoke, and ocean gradients require different production controls because each color reveals batch variation differently.
- A lens can match the approved color but still look wrong if the transition is too high, too low, too sharp, or uneven.
- A signed physical sample in the final frame is more reliable than a phone photo or loose lens.
- Buyers should approve a small pre-production batch and define acceptable bulk tolerances before full production begins.
What Is a Gradient Lens in Women’s Sunglasses?
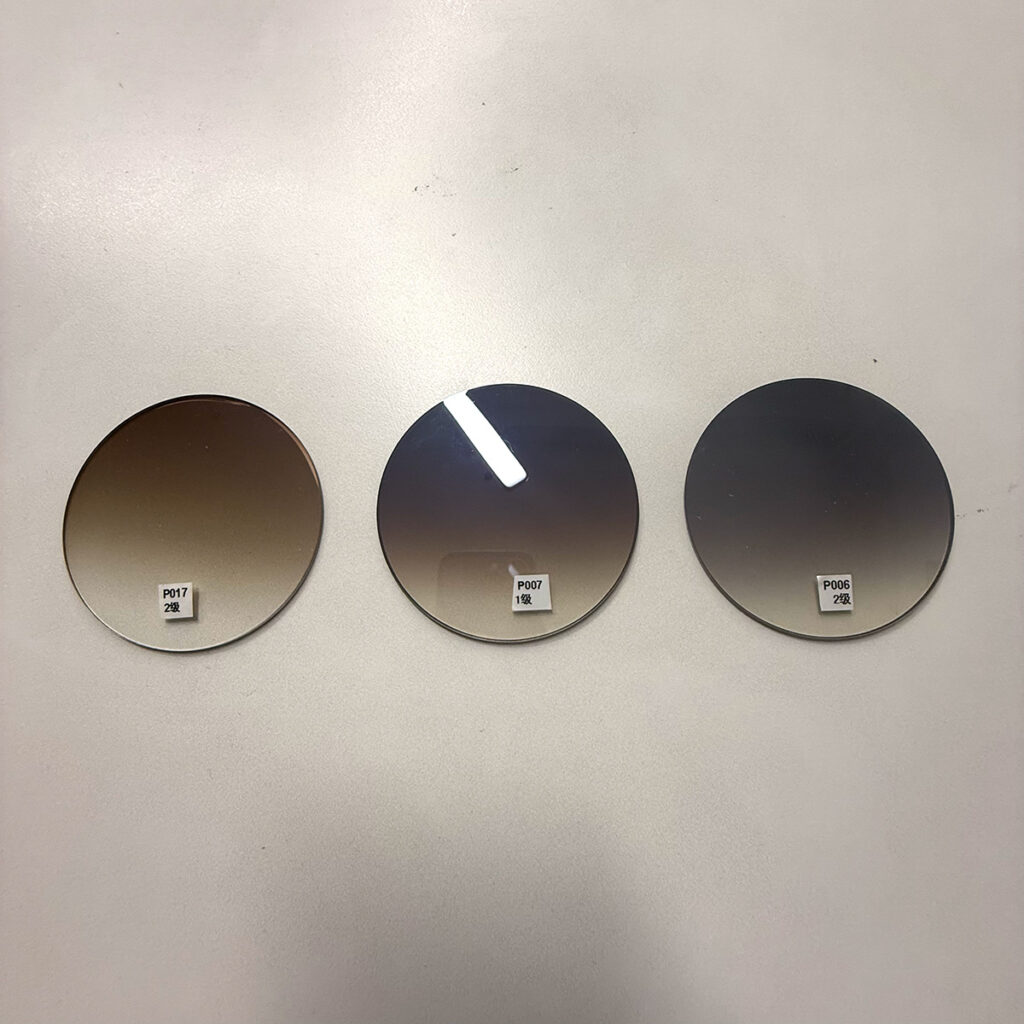
A gradient lens changes gradually from a darker upper area to a lighter lower area, with the transition controlled by tinting depth, time, temperature, and lens material.
Gradient lenses are widely used in fashion-oriented women’s eyewear because they create a softer visual effect than a fully dark solid lens. The upper section provides the strongest color and visual coverage, while the lighter lower section allows more of the wearer’s face to remain visible.
A complete gradient specification has four parts:
- Upper-zone color and darkness
- Middle transition position
- Lower-zone color and transparency
- Left-and-right lens consistency
This distinction matters because two lenses may use the same brown formula but still look noticeably different. One may have a dark section covering half the lens, while another may remain dark across almost two-thirds of the lens.
Zhantai’s broader gradient lens sunglasses manufacturing guide explains how lens material and tint categories affect development choices. Zhantai commonly works with PC and CR-39 options for gradient programs, depending on product positioning and technical requirements.
Why Do Gradient Lenses Look Different in Bulk Production?
Bulk gradient lenses vary when production conditions move away from the conditions used to create the approved sample.
A sample may be produced in a small controlled batch. Mass production requires repeated tinting cycles, more lenses per cycle, larger material lots, and longer operating periods. Small process shifts can therefore become visible across hundreds or thousands of finished sunglasses.
Tint Concentration Changes During Repeated Production
The tinting solution must remain within a controlled operating range. As production continues, its effective concentration may change because of evaporation, replenishment, contamination, or repeated lens processing.
These changes can affect:
- Overall saturation
- Upper-zone darkness
- Lower-zone clarity
- Warm or cool color direction
- Transition smoothness
For example, a tea gradient can become more orange when the warm component is too strong. A smoke gradient may become bluish if the gray balance shifts. An ocean gradient may lose its green component and appear almost entirely blue.
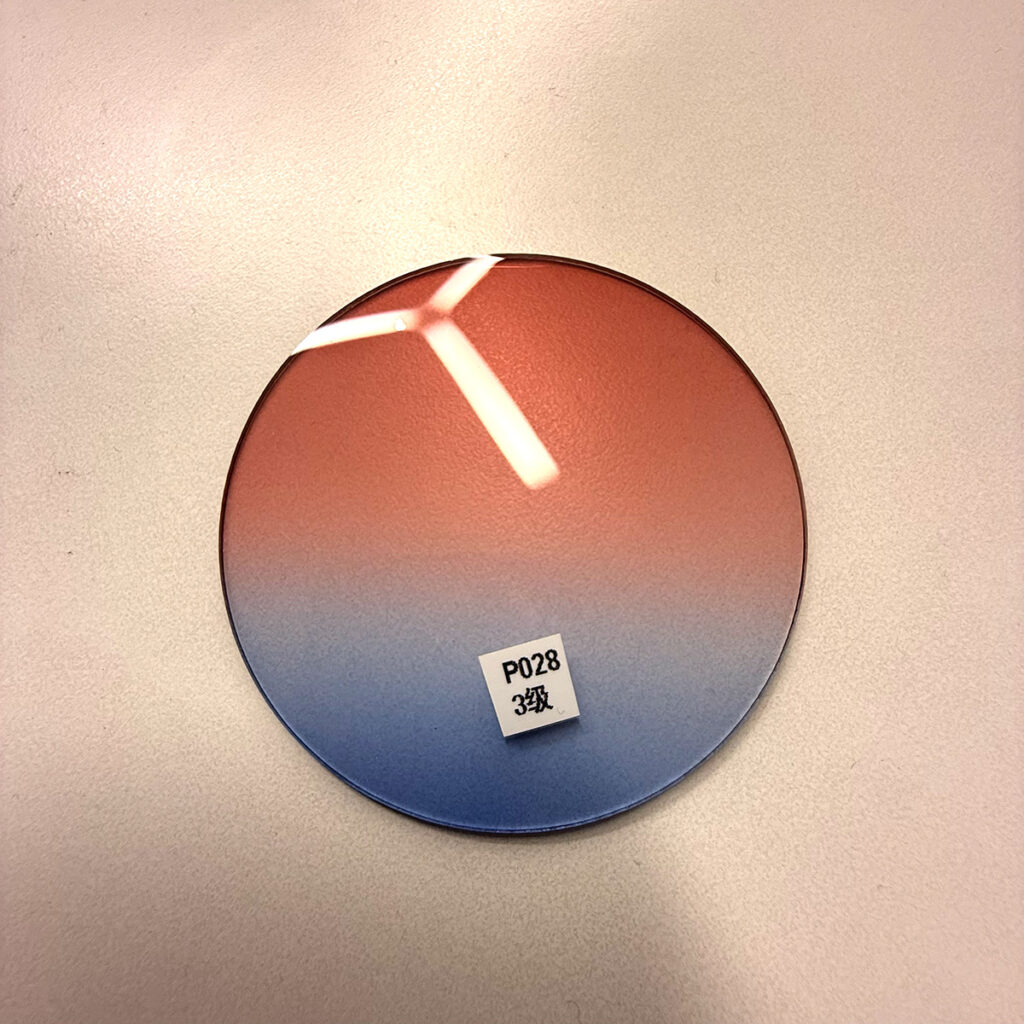
Immersion Depth Moves the Transition Position
Gradient tinting depends on how deeply and how long the lens enters the tinting solution. A small change in immersion depth can move the dark zone several millimeters.
Common results include:
- A dark upper section extending too far downward
- A transition beginning too close to the top
- One lens showing a lower transition than the other
- A visible horizontal boundary instead of a smooth fade
On a narrow lens, even a small positioning difference is obvious. On an oversized lens, the same difference may create a longer but less balanced gradient.
Tinting Time Changes Both Darkness and Coverage
Longer tinting generally produces a deeper tone, but time also interacts with temperature, material, and solution strength.
Excessive time may create:
- A nearly solid dark lens
- A muddy lower section
- A wider dark zone than the approved sample
- Reduced visibility of the frame and eye area
Insufficient time may create:
- Weak color saturation
- A washed-out upper section
- An almost colorless lower area
- Poor contrast between top and bottom
Lens Material Affects Color Absorption
PC, CR-39, nylon, TAC, and other lens structures do not necessarily respond identically to the same tinting process. A color formula developed for one lens material should not automatically be transferred to another.
The lens material can influence:
- Tinting speed
- Maximum darkness
- Color neutrality
- Surface appearance
- Batch repeatability
Curvature and Thickness Affect Visual Perception
A curved lens reflects more of the surrounding environment than a flat lens. The color may appear deeper at certain angles and lighter at others.
Thickness can also influence how color is perceived, particularly near the edge. This is one reason buyers should evaluate gradient lenses after cutting and fitting rather than only approving an uncut lens sample.
Frame Color Changes the Apparent Lens Color
The frame acts as a visual reference around the lens.
- Black frames increase contrast and can make the lower gradient look lighter.
- Transparent champagne frames make tea and brown lenses appear warmer and softer.
- Tortoise frames amplify amber and reddish tones.
- Silver metal frames make smoke lenses appear cooler.
- Blue transparent frames can strengthen the blue component of an ocean gradient.
A lens approved in isolation may therefore look different after assembly.
How Do Tea, Smoke, and Ocean Gradients Differ?
| Gradient Type | Intended Appearance | Common Bulk Color Difference | Common Transition Problem | Best Approval Focus |
| Tea gradient | Warm brown, amber, or soft tea tone | Too yellow, orange, red, dark, or pale | Lower area becomes muddy or overly warm | Warmth, upper darkness, lower transparency |
| Smoke gradient | Neutral gray from dark to light | Blue cast, brown cast, or excessive blackness | Transition looks sharp, flat, or mismatched | Gray neutrality and left-right pairing |
| Ocean gradient | Blue, blue-green, or green-blue effect | Too blue, too green, or unevenly turquoise | Visible bands or unbalanced multi-color fade | Blue-green ratio and transition smoothness |
These names are useful for communication, but they are not complete technical standards. One buyer’s “tea” may be another buyer’s “brown gradient.” Similarly, “ocean gradient” may refer to blue fading into clear, blue fading into green, or green-blue fading into a pale lower zone.
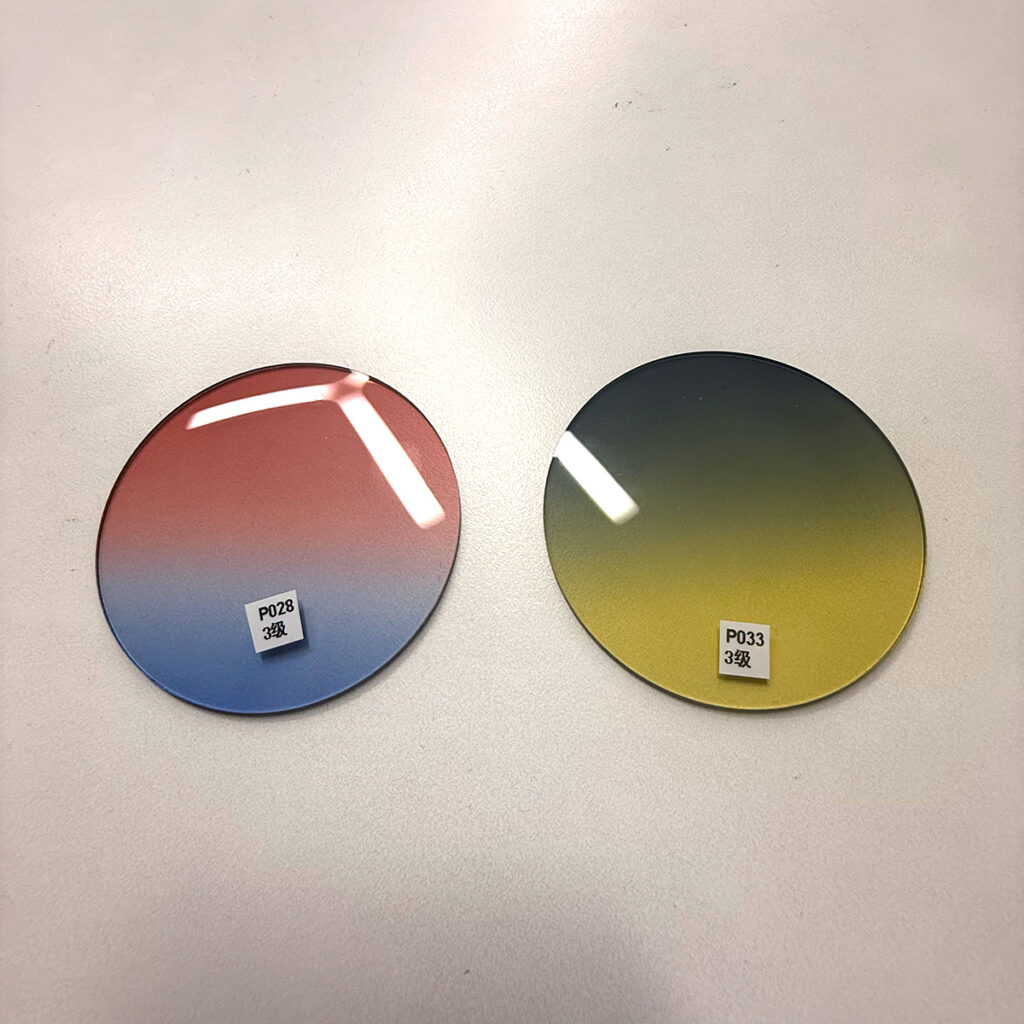
Why Does Tea Gradient Change in Bulk?
Tea gradient is especially sensitive to small changes in yellow, amber, red, and brown components.
Tea lenses are commercially attractive because they work well with tortoise, champagne, transparent brown, gold metal, and warm neutral frames. However, the color can shift quickly.
Common Tea Gradient Problems
-
Too orange
-
Too yellow
-
Too reddish
-
Too dark brown
-
Too pale or transparent
-
Muddy through the transition area
Why Tea Gradient Is Difficult to Approve by Photo
Warm colors are highly affected by white balance. A phone camera may automatically cool or warm the image, while different screens display brown and amber tones differently.
A tea lens photographed under warm showroom light may look rich and elegant. The same lens under white factory lighting may look more yellow. Neither view alone provides a complete approval standard.
Recommended Tea Gradient Approval Method
The buyer should confirm:
- Whether the target is amber tea, neutral tea, or reddish tea
- The darkest acceptable upper tone
- The lightest acceptable lower tone
- The preferred transition height
- Whether the frame should strengthen or soften the warm appearance
The physical approval should be completed in the final frame, especially when using tortoise or transparent champagne colors.
Why Does Smoke Gradient Change in Bulk?
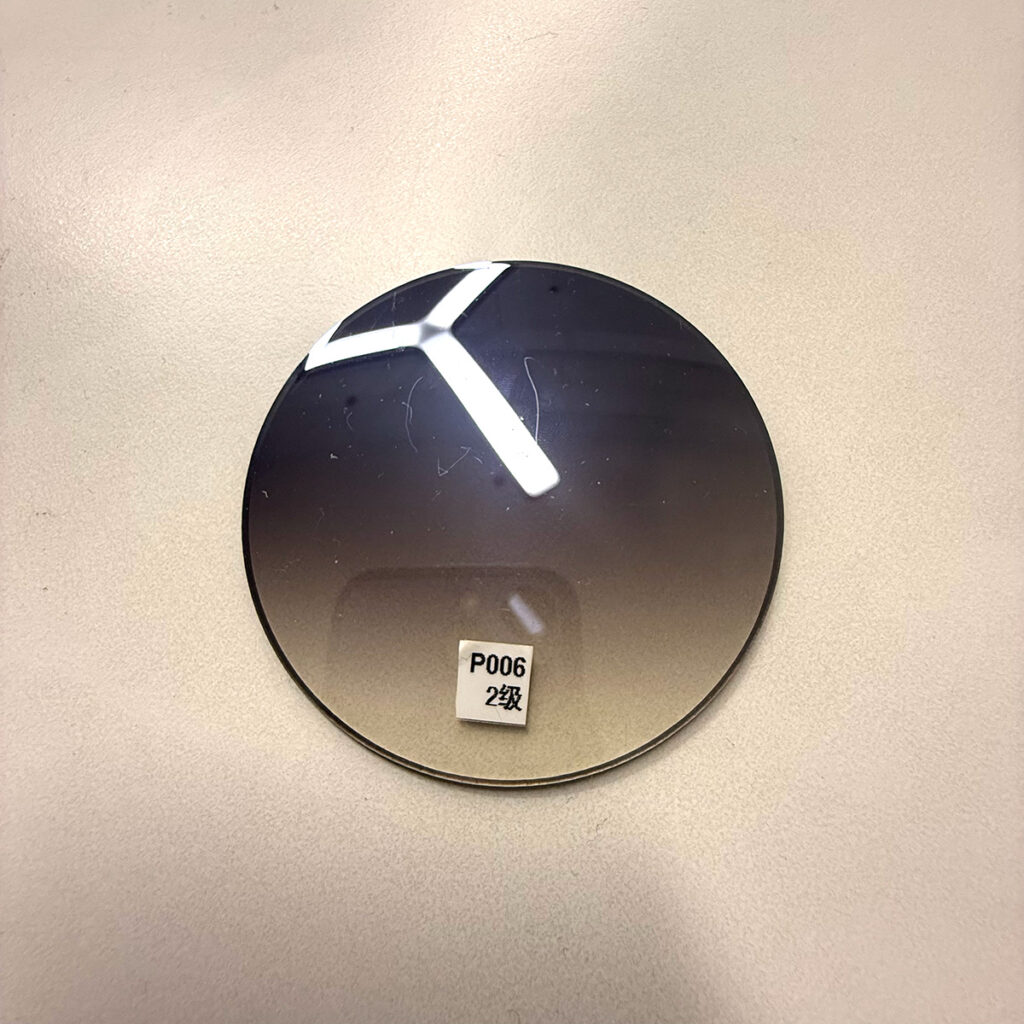
Smoke gradient must remain visually neutral, so even a small blue, green, or brown cast can make a production batch look incorrect.
Smoke is often treated as a simple gray color, but achieving a balanced neutral gray can be technically demanding. The final shade depends on the lens base, dye balance, thickness, and inspection light.
Common Smoke Gradient Problems
-
The upper section becomes almost black.
-
The lower section remains too dark.
-
A blue cast appears under daylight.
-
A brown cast appears under warm light.
-
The transition becomes too sharp.
-
The two lenses do not match in darkness.
How to Check Smoke Neutrality
-
A white background
-
A neutral gray background
-
A natural skin-tone background
-
Daylight
-
Standard factory inspection light
Recommended Smoke Gradient Approval Method
-
Upper-zone darkness
-
Lower-zone transmission
-
Gray neutrality
-
Transition position
-
Left-right darkness difference
Why Does Ocean Gradient Have Higher Production Risk?
Common Ocean Gradient Problems
-
Blue becomes too dominant.
-
Green becomes too dominant.
-
The intended teal tone becomes turquoise.
-
The lower zone becomes almost clear.
-
Horizontal color bands become visible.
-
Left and right lenses show different blue-green ratios.
-
The color looks correct flat but changes after fitting into a curved frame.
Why Multi-Tone Gradients Are Harder to Repeat
-
Stage order
-
Dye concentration
-
Immersion depth
-
Tinting time
-
Drying time
-
Lens orientation
-
Temperature
-
Base lens color
How to Define an Ocean Gradient Correctly
-
Whether blue or green should dominate
-
The target color at the top
-
The target color through the middle
-
The acceptable lower-zone tone
-
Whether the transition should be subtle or clearly visible
-
Which frame color will be used
How Should Buyers Evaluate Gradient Depth and Transition?
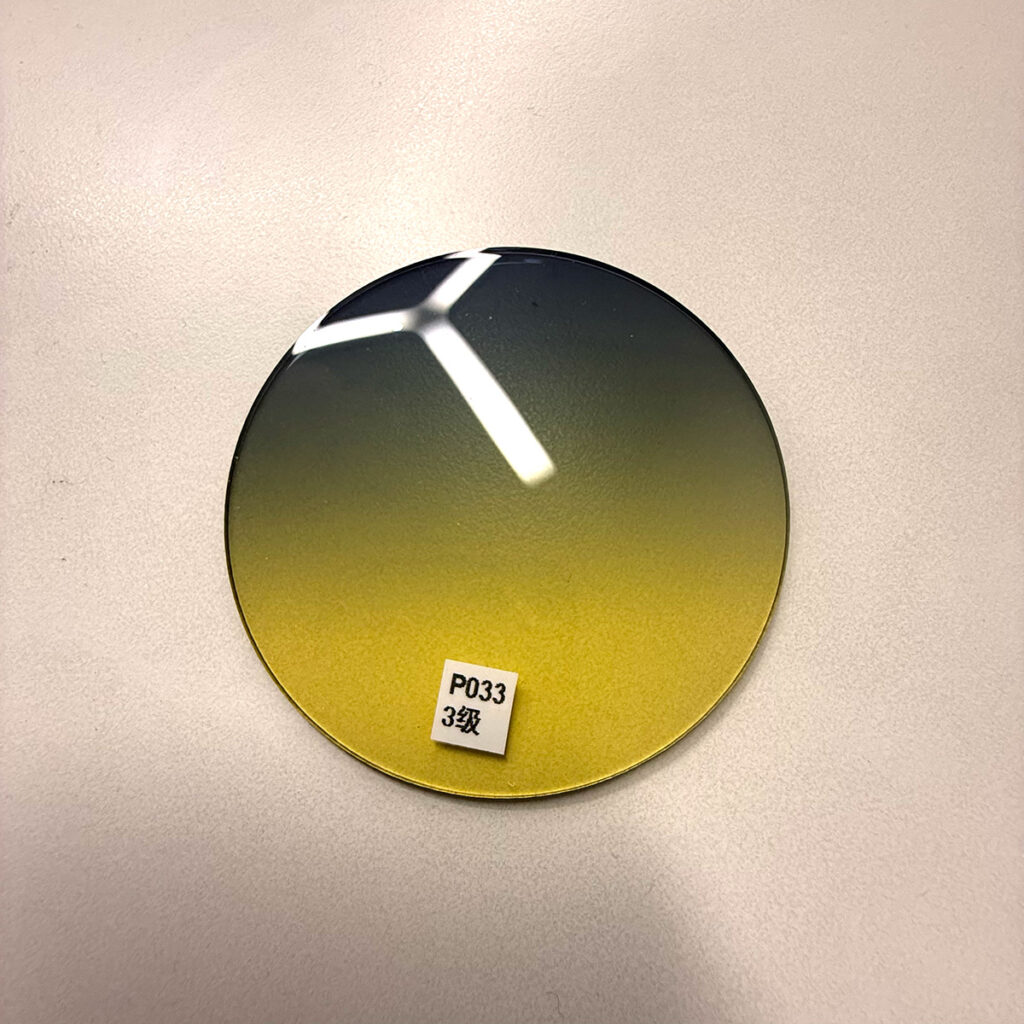
Four Gradient Transition Patterns
-
Smooth transition: The color changes gradually without a visible line.
-
Sharp transition: The dark and light zones have a noticeable boundary.
-
High transition: Most darkness stays near the top.
-
Low transition: The dark area extends farther down the lens.
How Frame Shape Changes the Ideal Gradient
Oversized Frames
Narrow Oval Frames
Aviator Frames
Cat-Eye Frames
Practical Transition Inspection Procedure
-
Place the finished sunglasses on a neutral white background.
-
Position them under a fixed inspection light.
-
View both lenses from the same angle.
-
Identify where the darkest section begins to fade.
-
Compare the transition height across both lenses.
-
Check for horizontal lines, spots, stains, or color bands.
-
Turn the frame slightly to evaluate curved-lens reflections.
-
Repeat the inspection against a skin-tone background.
What Is the Best Sample Approval Method?
| Approval Method | Main Advantage | Main Limitation | Recommended Role |
| Phone photo | Fast for early communication | Distorted by lighting, camera, and screen | Preliminary discussion |
| Studio photo | More controlled than a phone image | Still screen-dependent | Supporting record |
| Loose lens | Easy to compare basic tint | Does not show frame interaction | Early lens selection |
| Finished sample | Shows real assembly and frame contrast | Requires full sample preparation | Primary appearance approval |
| Signed master sample | Direct reference for bulk and reorder | Must be stored carefully | Final production standard |
| Instrument data | Provides objective transmission values | Cannot fully describe visual tone | Supporting technical control |
| Pre-production batch | Reveals repeatability across multiple pieces | Adds one approval step | Final check before mass production |
Step 1: Confirm Lens Material
Step 2: Approve the Final Frame Combination
Step 3: Create Matching Signed Master Samples
-
Frame color
-
Lens color
-
Transition height
-
Upper darkness
-
Lower transparency
-
Lens curvature
-
Final assembly
Step 4: Record Measurable Specifications
-
Lens material
-
Base color
-
Lens curvature
-
General transmission range
-
Upper-zone darkness
-
Lower-zone lightness
-
Gradient direction
-
Approved frame combination
-
Acceptable visual tolerance
Step 5: Define Viewing Conditions
-
A consistent inspection lamp
-
A neutral white or gray background
-
A fixed viewing distance
-
A repeatable viewing angle
-
Minimal surrounding color reflection
Step 6: Approve Several Pre-Production Pieces
-
Pair matching
-
Batch consistency
-
Transition repeatability
-
Frame-to-lens interaction
-
Variation between different tinting positions
Step 7: Agree on Bulk Inspection Rules
-
Inspection quantity
-
Acceptable left-right difference
-
Transition-position tolerance
-
Acceptable batch variation
-
Handling of borderline products
-
Rejection and rework procedures
What Approval Mistakes Create the Most Risk?
Approving Only by Color Name
Approving from One Phone Photo
Approving a Loose Lens Only
Ignoring Transition Height
Approving Only One Sample
Changing the Lens Material Later
Failing to Keep a Master Sample
How Can B2B Buyers Reduce Gradient Lens Risk?
-
Confirm the exact lens material.
-
Approve the lens inside the final frame.
-
Specify top, middle, and bottom color expectations.
-
Define transition height and smoothness.
-
Check both lenses as a pair.
-
Approve under standard lighting.
-
Retain signed physical samples.
-
Review several pre-production pieces.
-
Agree on acceptable bulk tolerance.
-
Keep a sealed reference for repeat orders.
How Zhantai Manages Gradient Lens Development
-
Review the buyer’s image, physical reference, or color direction.
-
Clarify whether tea, smoke, blue, green, or another tone should dominate.
-
Confirm the lens material and frame combination.
-
Prepare loose-lens trials where necessary.
-
Assemble the preferred lens into the final frame.
-
Approve the color, darkness, and transition position.
-
Produce several pre-production pieces.
-
Establish the bulk inspection reference.
-
Control lens pairing and finished-frame appearance.
-
Retain records for future reorders.